
19 DIY Crafts Life Hacks
As someone who loves getting creative with DIY crafts, I have learned a lot of life hacks along the way that have made my crafting experience so much easier and more enjoyable.
These hacks have saved me time, money, and frustration, and I can’t wait to share them with you!
Whether you’re a seasoned crafter or just getting started, these 19 DIY crafts life hacks will help you take your projects to the next level.
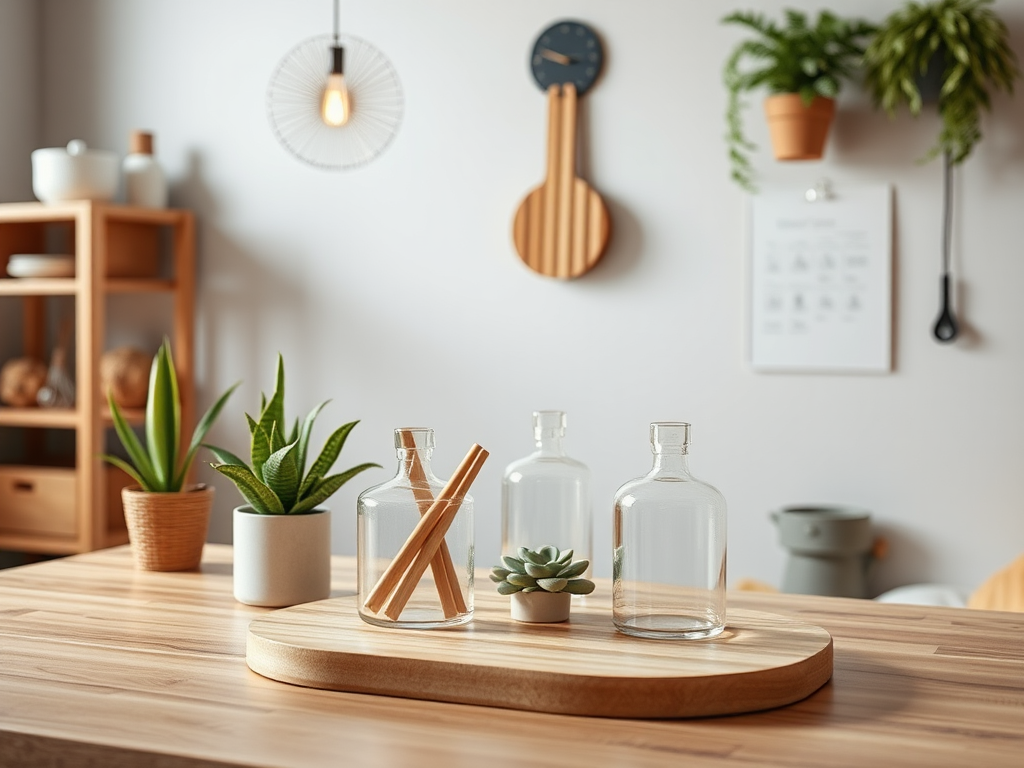
Organize Your Supplies:
Keeping your crafting supplies organized is key to a successful DIY project. Use clear plastic bins, mason jars, or drawer organizers to store small items like beads, buttons, and ribbon. Label everything so you can easily find what you need when you need it.
Repurpose Household Items:

Before you go out and buy new supplies, take a look around your house to see if you can repurpose any items for your craft projects. Old t-shirts can be turned into yarn for knitting or crocheting, while empty toilet paper rolls can be used to make DIY stamps.
Use a Toothpick for Precision:
When working with small details or intricate designs, a toothpick can be your best friend. Use it to apply glue, paint, or glitter with precision, or to clean up any mistakes without making a mess.
Make Your Own Stencils:
Instead of buying expensive stencils, make your own using cardstock or acetate sheets. Simply draw or print out your design, trace it onto the material, and cut it out with a craft knife. You can use these stencils over and over again for a fraction of the cost.
Create Custom Colors:
If you can’t find the perfect shade of paint or dye for your project, don’t worry – you can create custom colors by mixing different shades together. Start with a base color and gradually add small amounts of other colors until you achieve the hue you’re looking for.
Use a Hair Dryer for Quick Drying:
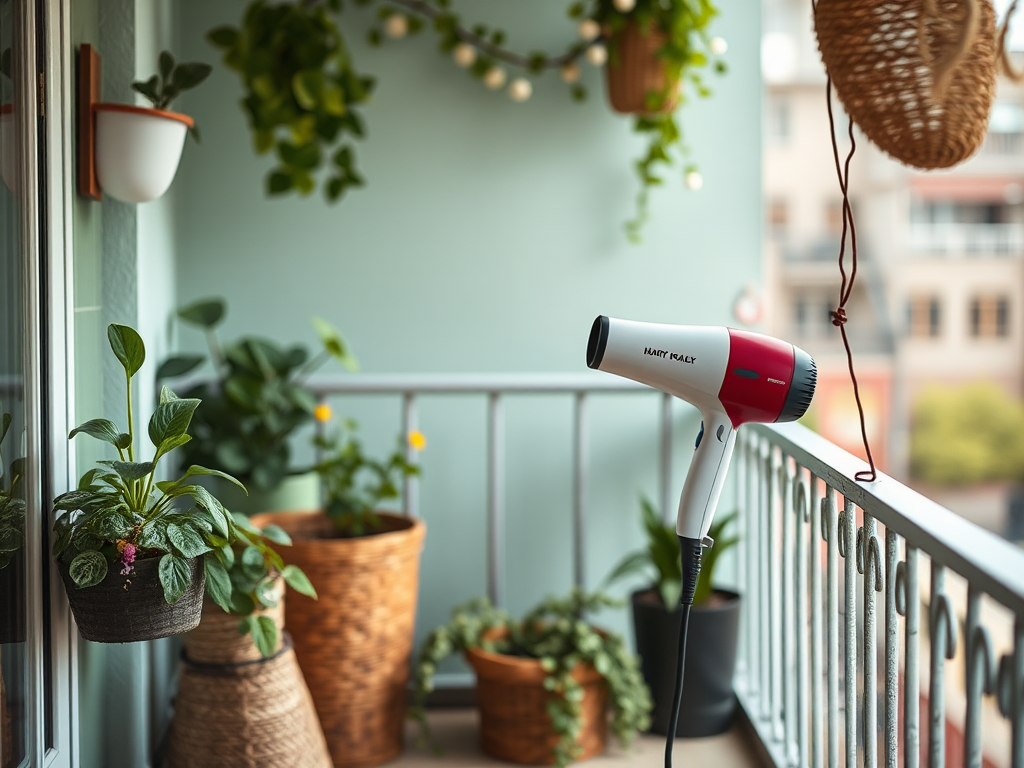
If you’re in a hurry to finish your project, use a hair dryer on a low heat setting to quickly dry paint, glue, or Mod Podge. This will help you avoid smudges and keep your project looking neat and professional.
Protect Your Work Surface:
To prevent spills, stains, and damage to your work surface, always use a protective covering like a plastic tablecloth, newspaper, or silicone baking mat. This will make cleanup a breeze and keep your crafting area looking clean and organized.
Keep a Wet Cloth Handy:
When working with glue or paint, keep a wet cloth or paper towel nearby to quickly wipe up any spills or mistakes. This will help you avoid messes and keep your project looking polished and professional.
Use Toothpaste for Cleaning:
If you accidentally get paint or glue on your hands, don’t worry – toothpaste can help remove it quickly and easily. Simply rub a small amount of toothpaste onto the affected area, scrub with a toothbrush, and rinse with warm water.
Repurpose Old Clothing:
Instead of throwing away old clothing, repurpose it into fabric scraps for quilting, sewing, or other crafts. Cut out buttons, zippers, and other embellishments to use in future projects, or turn old t-shirts into reusable shopping bags.
Create Your Own Embellishments:

Instead of buying expensive embellishments for your projects, create your own using materials you already have on hand. Use buttons, beads, ribbon, or fabric scraps to add unique and personalized touches to your crafts.
Use a Binder Clip for Glue:
When working with glue, use a binder clip to keep the tube or bottle upright and prevent it from spilling or leaking. This will help you control the flow of glue and avoid making a mess on your work surface.
Keep Your Tools Sharp:
Sharp tools are essential for clean cuts and precise details in your craft projects. Use a sharpening stone or sandpaper to keep your scissors, knives, and other cutting tools sharp and in good condition.
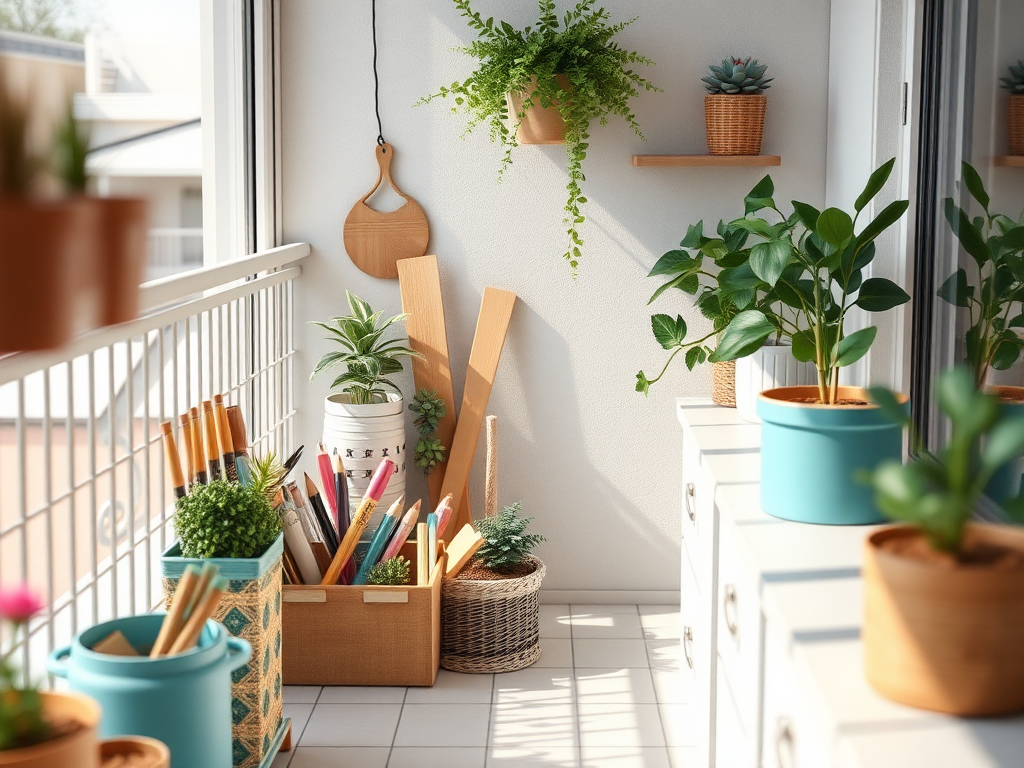
Create a Crafting Kit:
Put together a crafting kit with all of your essential supplies so you can easily grab it and start crafting whenever inspiration strikes. Include scissors, glue, tape, markers, and other tools you use regularly to save time and stay organized.
Use a Ruler for Straight Lines:
When drawing or cutting straight lines, use a ruler or straight edge to ensure precision and accuracy. This will help you achieve clean, professional-looking results in your projects.
Seal Your Projects:
To protect and preserve your finished projects, seal them with a clear varnish or Mod Podge. This will help prevent smudging, fading, or damage over time, and keep your crafts looking fresh and vibrant.
Experiment with Different Techniques:
Don’t be afraid to try new techniques and experiment with different materials in your craft projects. You never know what amazing creations you might come up with when you step out of your comfort zone and push your creative boundaries.
Take Breaks and Stay Hydrated:
Crafting can be a fun and rewarding activity, but it’s important to take breaks and stay hydrated to avoid burnout and fatigue. Take a few minutes to stretch, walk around, and drink water to keep your energy levels up and your creativity flowing.
Share Your Creations:
Once you’ve finished a project, don’t be afraid to share it with others! Whether you post it on social media, give it as a gift, or display it in your home, sharing your creations can bring joy to others and inspire them to get creative too.
Conclusion:
I hope these 19 DIY crafts life hacks have inspired you to take your crafting to the next level and have made your creative journey a little bit easier and more enjoyable. Remember, crafting is all about having fun, being creative, and expressing yourself, so don’t be afraid to experiment, make mistakes, and learn from them. Happy crafting!


